Statement Necklaces

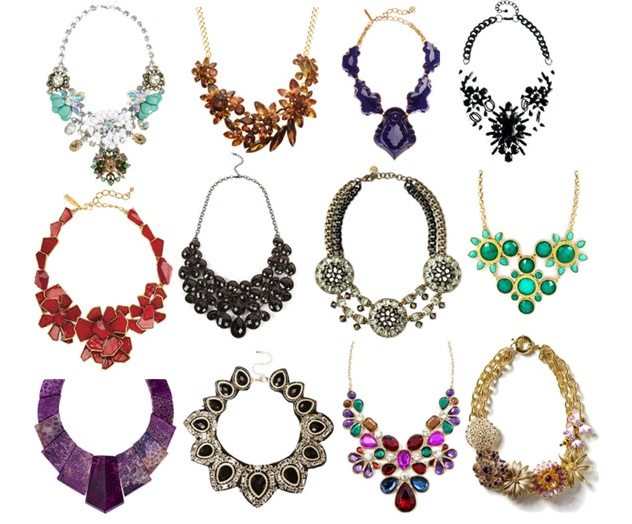
A statement necklace means a bold piece which looks unusual and stands out from others. All of us should agree on the fact that accessories are to apparel what lyrics are to songs. Even a melodious song often fail to appeal us because of  some stupid lyrics. Just like that, a beautiful outfit  could fall flat or look dull and uninteresting without appropriate accessories.
A statement necklace can infuse a completely bod and different style to your look. While most of us blindly buy statement necklaces, I think there are few points which we should be kept in my mind while choosing such items.

Natasha Accessories necklace


Firstly, one should consider the height and body type. If you’re tall and thin, choose something of round type. Even square and rectangular pattern will also go well. But, if you’re short and flabby, never settle for over-emphasized pieces. That will put down your own good features and all eyes  will be on your accessory instead of you. Make your statement piece a part of you, don’t let it to be more important than you.

Designer 3D black flower statement necklace


Secondly, the color of the neck piece  depends on the occasion. While  you can wear hot and happening colors like fuschia pink, blue or dazzling yellow for the party, light pastel colored necklaces will be suitable  for daily or office wears.

Suiting your personality and style, is the most important thing. Choosing an appropriate neck-piece can do magic to your basic outfits. Go for it!

Screenshot 2015-04-09 14.05.33

Bag It!

A handbag defines a woman. Handbag is, perhaps, the most important accessory after shoes. A well-chosen handbag can make you look completely different. It’s the emblem of being well groomed. Similarly, a handbag  can mar your personality as a whole if not chosen wisely.

There are several types of handbags and, you need to know the classification in order to choose the right one.

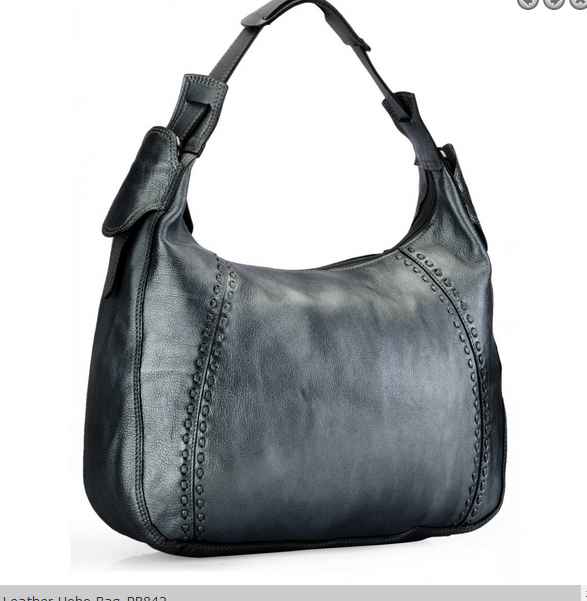
HOBO Handbags: Hobo bags are so called because they look like the bindle on a stick which the Hobos used to carry. They are typically large and have long straps. Hobo bags go well with trendy, funky looks. Never ever try a hobo if you’re wearing a traditional gown, a short one piece dress or a saree.

A typical hobo

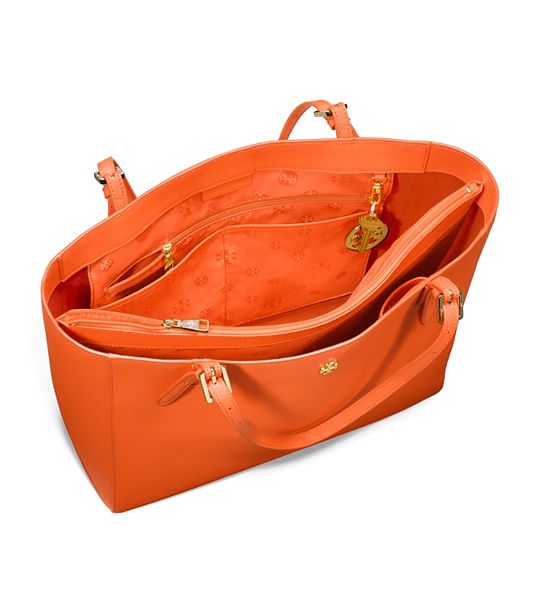
TOTE bags: The term ‘tote’ means ‘to carry’. So tote bags are literally meant to carry a lot of things.Tote bags are made from sturdy materials; thick leather or jute. Tote bags are large and often unfastened with two parallel handles.
Nowadays, there are different types of tote bags, designer tote, fashion tote, college tote. You can choose according to your need.

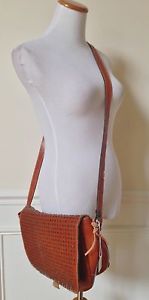
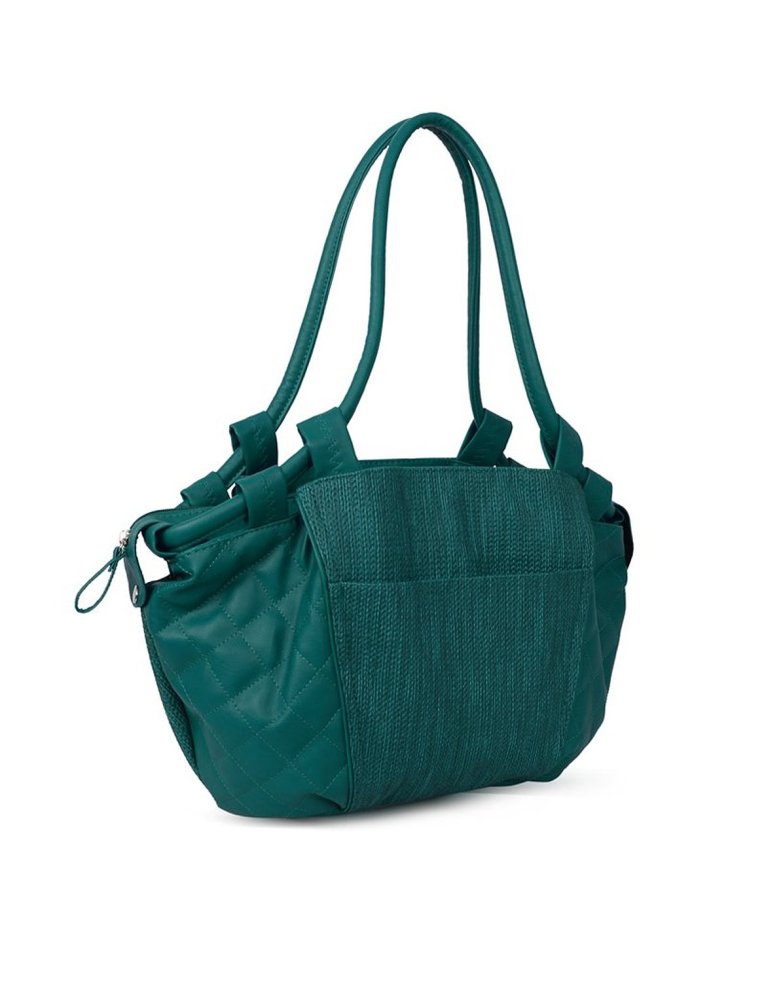
TB_11159717_803_BCROSSBODY Bags: As the name suggests, crossbody bags can have longer straps and can be taken in a way across your body. It leaves your hands free and you can have the comfort as well as the style. It can be taken with skirts, jeans,  and semi-formals as well. But not with traditional wear.

crossSHOULDER Bags: Shoulder bags are the commonest form of bags. They work quite well traditional wear like sarees if it’s a classy one, and, can be used as office bags, college bags and almost every other purpose.

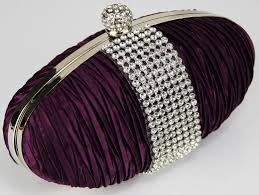
61Lu5NNj75L._UL1500_CLUTCH bags: Clutch bags are best taken with classy, traditional wear. They are usually medium-sized and are not very spacious. They’re meant to add glamor and glitz to you.

images
Hope you’ve enjoyed the bag story. Being a bag lover, I just can’t stop myself from buying handbags 😀 Are you of the same type? Do share your views. Recently I bought an ESCADA bag and it’s now my most favorite of the lot. I’ll share  my photos with it. Till then, keep bagging….oooops…blogging 😀

Dramatic Smoky Eyes

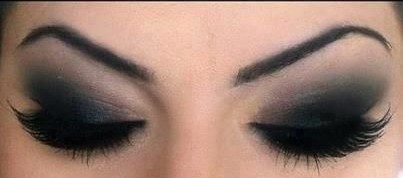
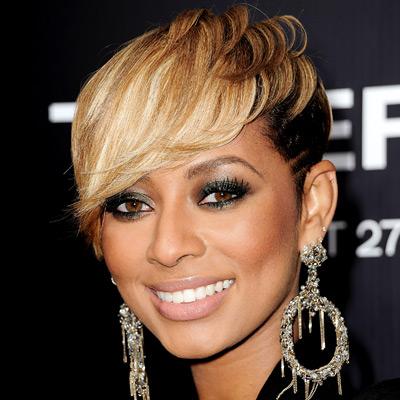
Smoky eyes are actually eye make-up providing your eyes a dramatic and sizzling look. Smoky eyes can transform your simple look into an awesome one. Just like the red lips, the sexy smoky look of your eyes goes perfectly with minimal eye and face make-up. An overdose of either of these, and you’re sure to end up with a disastrous look. 1-how-to-apply-smokey-eyes-makeup-step-by-step For smoky eyes, first of all you need a charcoal grey or grey eyeshadow. Use a medium sized makeup brush to apply the eyeshadow just above the crease of your eyelid. Apply it in an arch shape. With the help of your index finger, blend it down to the lashes. ( You’ll learn to do it with the help of the brush itself after a few trials). With a black kohl pencil or kajal, trace the upper lid line and gently smudge it towards the end with the help of your fingertips. With a smaller brush, apply a metallic shade into the lower lash line. Finally, to wake up your eyes or simply just to make them more prominent, use glitters, silver/golden powder or white pencil to the inner corners of the eyes. Don’t ever work it up to your brows. It will simply ruin the effect. Apply heavy mascara. Firstly, apply one coat of volume mascara. Let it dry and, apply again. You’re ready for the show. 101210-Keri-400_0 “For a smoky eye, moisturize the area first, so when you line the lid with a pencil it will smudge naturally.” -Ellen Pompeo Don’t experiment much with the smoky eyes look. Remember, a racoon type of eyes is a big no-no. Use the black/grey eye-shadows wisely and intelligently. Make your smoky eyes classy, not clownish.

Using The Base Makeup

Many of my friends ask me how to use a makeup base. Before knowing the perfect usage of makeup base, you’ve to understand what a makeup base is.

Makeup base is the primary coating or base layer  forming the foundation of your facial make-up. You should do the base makeup carefully and skillfully as everything else depends on it.

You need liquid foundation (sometimes called primer), wet sponge and concealer to complete your base makeup. The foundation shade must match your skin tone and complexion. Use a lighter foundation if you have a flawless, clear skin; if there are blemishes, use a heavier one.

makeup base

Cleaning, toning, and moisturizing is necessary before applying any make-up. After that, apply the foundation to your forehead, cheeks, nose, and the tip of your chin. Use your middle and ring fingers without giving pressure and spread the base evenly with a gentle massaging motion, reaching up to around your eyes.

if you’re not much skillful with the application of foundation with your finger, take a little of it on the wet sponge or cotton and use it to put on the base. Firstly, apply a little, if needed, go for another dab. Remember, your complexion should have a natural look. You’re using make-up to enhance your beauty, not to give it a ghostly look. Don’t ever try to overdose.

After applying the foundation, it’s time for the concealer. As the name suggests, concealers are there to conceal all the drawback your face/skin has. If you’ve dark circles, use an Under Eye Concealer. Otherwise, a normal one will do the magic. The concealer should complement the shade of your foundation. It should perfectly camouflage all those pimple marks, blackheads, whiteheads, and blemishes.

Make-up tricks can’t be learned overnight. It takes time and patience to learn the art of make-up. Worldwide, make-up artists are highly paid and, this has now become a lucrative profession. To start with, your face is your canvas. Be innovative, be natural. The basic aim of makeup is to highlight the best features of your face and thereby concealing the not-so-good-ones.

Useful Homemade Face Packs To Remove Tan

Tanning is a problem we often face. For some of us it’s really as annoying as anything. A fun outing with friends  and you return home with a pathetic tan. A day by the seaside and your skin becomes 2/3 coats darker. For me, even sunscreen lotions with SPF40 is of no use. Moreover, too much use of sunscreen makes my skin itchy.

My grandmom told me a few homemade tricks the other day to get rid of the tan easily. All these can be prepared from easy-to-get natural products and are useful for the skin naturally. Let me share with you some of my grandmom’s secrets.

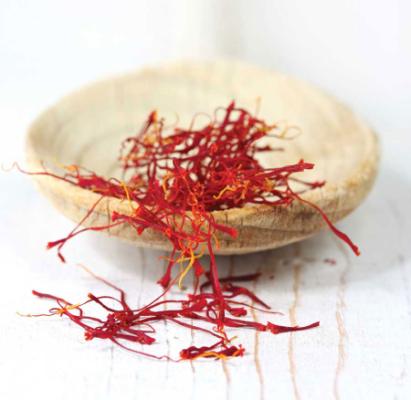
Milk & Saffron Anti-tan Face Pack

Ingredients: 5 tbsp lukewarm milk, A few saffron strands, 1 tbsp honey and a banana (cut into small cubes)

Saffron1

Process: Mix all the ingredients evenly to make a smooth paste. You’ve to mix it well to make the banana congruous to the mixture
Apply it on your face and leave it for 15/20 minutes. After it gets dried, wash well with water. Continue for  at least a week. You’re sure to get  back your normal detanned skin.

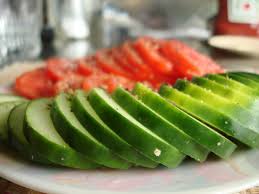
Tomato-Cucumber Face Mask

Cucumber is a very good natural astringent and tomato works well to give your skin a smooth texture.
images (3)Ingredients: A medium sized cucumber, a medium sized tomato, 1 tbsp honey, 1tsp lemon juice, 2 tbsp curd

Process: Grate the cucumber and the tomato in a bowl and mix  well with curd, honey and lemon juice. Apply on skin evenly and let it dry. After 15/20 minutes wash it off with water.

Apart from removing tan, this pack is also useful to all skin types and one can use it regularly to get a glowing flawless skin.

Milk & Chickpea Flour Face Pack

Ingredients: 1/2 cup of cold milk, 4/5 tbsp of chickpea flour, 1 tbsp of honey
chippeaProcess: Mix all the ingredients  evenly to make a paste. Apply generously on face and neck. Let dry and rinse off. If you have a dry to normal skin or combination skin, apply moisturizer after washing off the pack.

I sincerely wish to get rid of my tan and I know many of you out there wish the same. I’ll be extremely happy if you find these packs helpful enough to solve your problem.

I tried this D-tan Mask from Sara helps and it’s quite helpful too. You can buy it online from Flipkart.

Hail to glowing skin 😀

Nude Lipsticks, Learn The Trick

Though the term ‘nude lipstickis much in vogue for quite a long time, people still now get confused about what does it actually mean.  I’ve come across may girls in my class who don’t have a clear idea on what color is the ‘nude’. Well, nude lipsticks refer to those colors whose shades are quite similar to our skin. If you want to wear a look which is not flashy yet stylish and different, you should go for nude shades. It gives you a bare look on your lips.

The trouble is, nude lipstick can be just as difficult to wear as a bright hue. Picking the right shade for you, the ideal texture and, finding the one that lasts longer, all these should be considered while choosing a nude shade. It is a wrong notion that nude shades come in only pale beige or matte pink. Nude lipsticks have a wide range to choose from and, it needs time to find the right one.

According to Caitlin Callahan, senior makeup artist of MAC Cosmetics,  “Fair skins will look for shades with more white pigment and darker skin more brown, however the lip colours are similar,”. This is actually the rule everyone should follow. As I’ve mentioned, one may find it difficult to find the perfect shade at the first attempt, but a trial and error method will surely help.

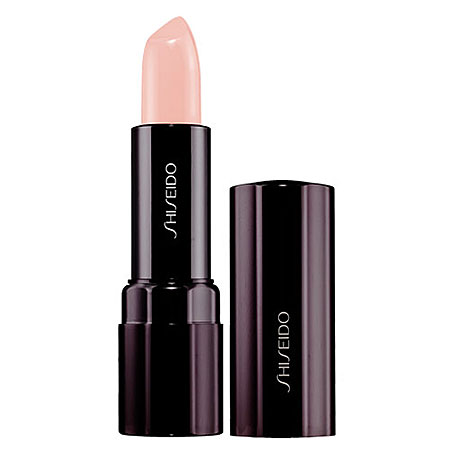
1_sheer-nude-lipstick

Anyone can wear nude lips. Just keep in mind that you’re trying to portray a natural look, NOT a sickly or ghostly hue on your face and lips. When after adding the nude shade, you still look as fresh and healthy as you generally do while wearing your bold popping red or wine or brown shade, you can be sure that you’ve found the right nude shade for you.

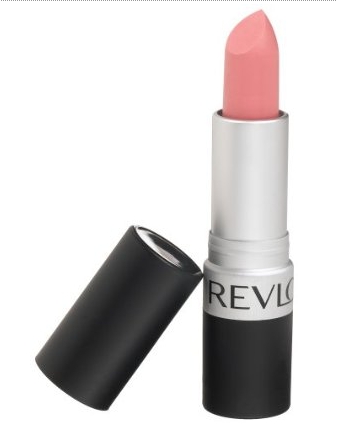
Crème lipsticks have more nude shades than matte and if you want a party-nude look, you can apply some lip-sparkle to make it dramatic. But this thing doesn’t work for all.

2_pink-nude-lipstick

Important Tip: It’s better to use a heavy eye makeup with nude shades to contrast the effect, especially if you’re wearing it at night.

Review of Maybelline Colossal Kajal

Though I’m quite fond of eyeliners and Maybelline’s Eye Studio Lasting Drama Gel is my all-time favorite but, sometimes I do prefer a Kajal.  Especially it is needed when I’m in a hurry or, when I put on a pair of blue/hazel lenses to make my eyes look extra dramatic. I find it really irritating to use eyeliner with my lenses on. I don’t know why but it gives me an itching sensation. So when one of my friends suggested the Maybelline Colossal Kajal, I didn’t think twice to try it on. So I’m here with my review. 1-images (2)The Maybelline Colossal Kajal is a nicely looking sleek yellow pencil with a pointed tip. It is really dark and is extremely easy to apply. I apply it without any problem on my very first attempt. You may say that I’m quite experienced enough on applying eyeliner and similar other stuff, but, trust me, it’s hell easy and even a kid can apply it smoothly. It’s just like holding a pencil with a firm grip and drawing the lines.

Maybelline demands that it lasts for 12 hours. I must say that if not actually 12, it lasts without getting smudged for at least 10 hours! Of course, if you happen to rub your eyes repeatedly, it might get smudged. I rubbed my eyes on one occasion and it looked quite good even after that. But, it’s better to avoid rubbing your eyes to avoid smudging.

Pros: With a twist-up packaging, it’s easy to use and even can be used to the last bit.
Lasts longer on my eyes and doesn’t get smudged easily. (You can say it doesn’t smudge at all, as we are not supposed to rub our eyes vigorously with make ups on)
Cute packaging and pocket-friendly price.

Cons: Nothing as such. Only that the pointed tip gets blunt after repeated uses and, it’s quite difficult to sharpen it again.

My Verdict: Best product at this range. I’m sure to buy it again.

1-mayb